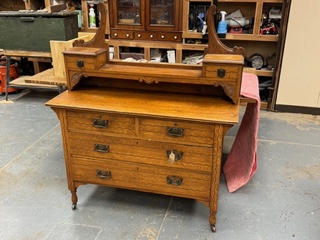
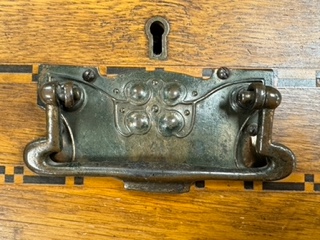
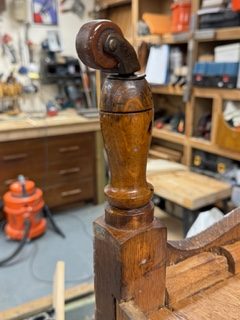
This oak dresser is currently in our workshop. All original (mirror not shown in photo) it has some nice details.
Sadly as its been moved about it has broken a leg.
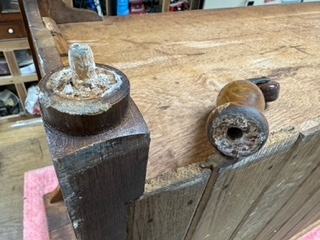
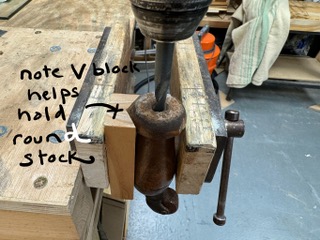
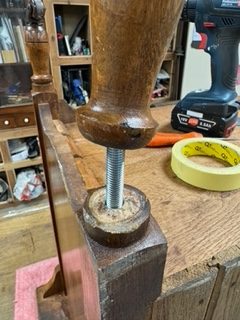
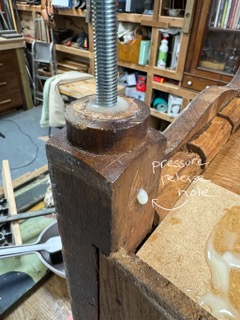
To sort this we drilled out both the leg & base to accept a piece of galvanised threaded rod. Both holes are about 3 inches deep allowing for a 6 inch rod to be inserted, enough to withstand normal moving forces.
Before we glue the assembly we’ll give it a dry fit to ensure everything goes together as planned.
And here is the finished repair.
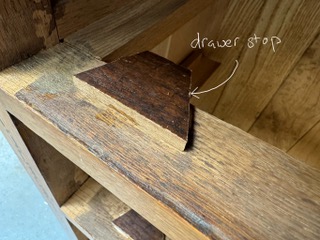
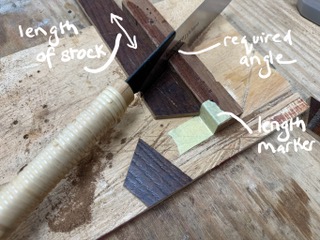
As always sequence of construction/fabrication is everything. If you can get your sequence right it goes a long way to making for an easier and more accurate job. And so the drawer stops are cut from a length of suitable stock. The required angle is cut into the bench hook stop & a a length marked with making tape. The saw will cut the angle and between each cut the stock is flipped resulting in the trapezoid shapes needed.
Your items have been added to your basket.
Your items have been added to your basket.