Front suspension removal
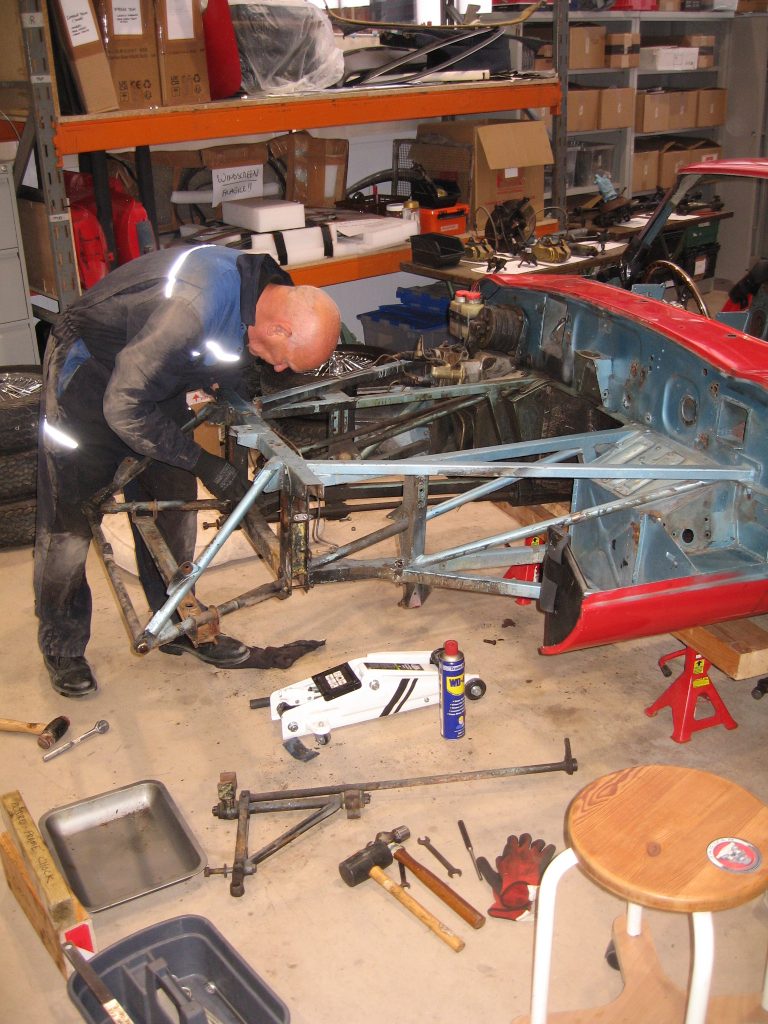
With the front wheels removed and the engine frame supported with axil stands the first job was to bleed the front brakes. On the Jaguar, this is a separate system from the rear. The sequence then went as follows:
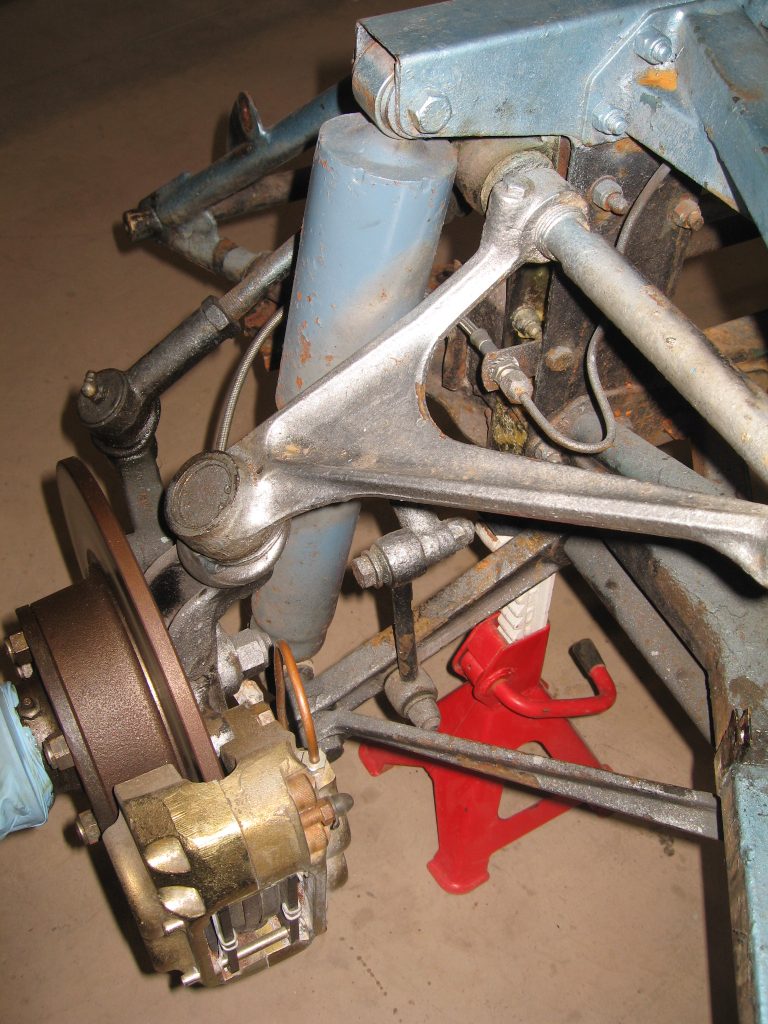
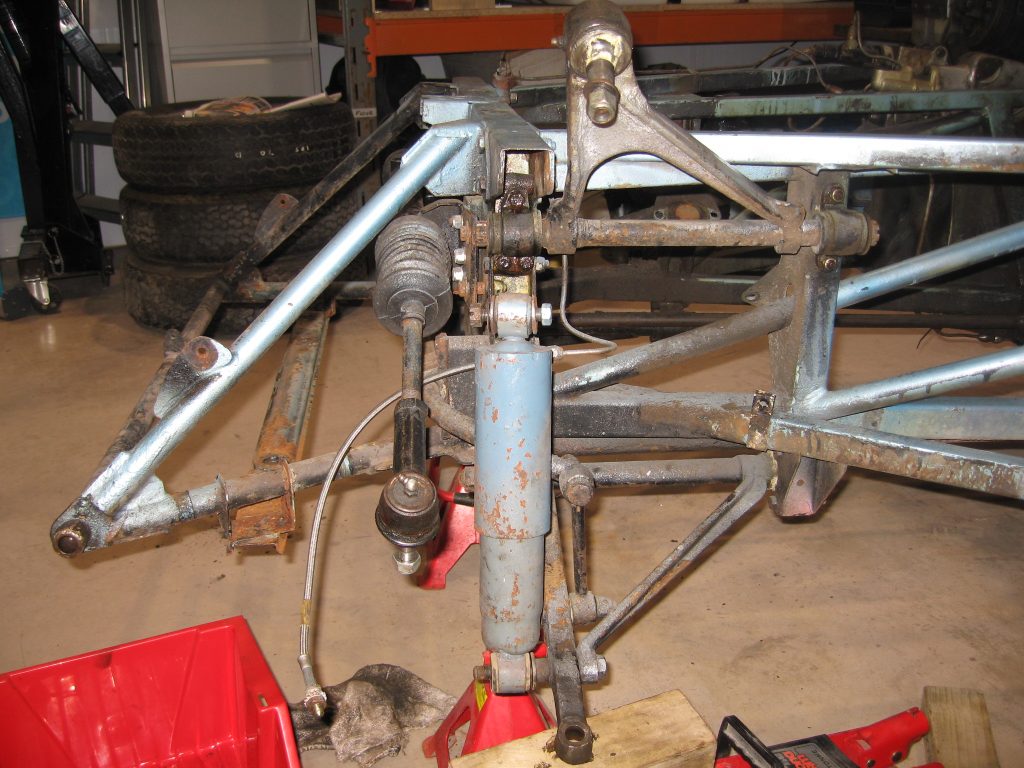
1. Disconnect the brake lines from the callipers. 2. Unbolt and remove the break calliper. 3. Disconnect track rod end by slackening castle nut and cracking taper joint with a sharp tap from a hammer. 4. Support lower wishbone with a jack and fully rotate hub assembly. This gives access to upper wishbone ball joint tapered joint. Slacken castle nut and break taper joint with sharp tap from hammer. This did not release so easily but did eventually. 5. I was careful not to let the hub assembly flop out onto the floor. 6. Remove shock absorber. 7. Disconnect anti roll bar drop connection. 8. Release jack below the lower wishbone to release torsion bar energy. 9. Carefully allow hub assembly to pivot out to reveal lower ball joint taper joint. This joint required a ball joint splitter to crack the taper joint – it worked well. Hub and disc are now free.


10 . The lower wishbone connects to the torsion bar – which provides the ‘spring’ in the suspension. It seemed best to remove these all together, by unbolting the two wishbone bush supports from the main frame (this visible in picture opposite).
11. The upper wishbone was removed in the same way, by unbolting the bush housing from the main frame.
Job done!
On close examination, we found the upper wishbone ball joint, lower ball joint and the track rod end to be warn out. I cannot imagine what the cars steering must have felt like when driving with everything being so warn and loose.
Thanks to our friends at SNG Barrett, we have a kit of bushes and ball joints coming, this will enable us to perform a full, front end suspension refreshment.

We write rarely, but only the best content.
Please check your email for a confirmation email.
Only once you've confirmed your email will you be subscribed to our newsletter.

